


Moldy bathroom drywall is a common issue driven by moisture and poor ventilation. Signs include stains, peeling paint, and a musty odor. Causes range from installation flaws to leaks or previous mold infections. Regular inspections are vital, focusing on environmental factors like water intrusion and humidity. Preventing mold growth requires efficient ventilation, such as installing exhaust fans or using dehumidifiers. For severe cases, replace damaged drywall with new sheets, ensuring proper joint taping and sanding for a smooth finish. Long-term prevention includes optimal bathroom ventilation, prompt leak repairs, water-resistant materials, regular cleaning, and maintaining clear air circulation to deter mold growth.
“Discover when it’s time to replace moldy bathroom drywall and learn how to prevent this common issue. This comprehensive guide delves into recognizing signs of mold growth, understanding its causes, and implementing the best bathroom ventilation for mold control. We provide a step-by-step process for safe removal and offer long-term maintenance tips to keep your bathroom dry and healthy. By following these expert strategies, you’ll effectively navigate mold prevention, ensuring a fresh and comfortable space.”
- Recognizing Moldy Bathroom Drywall: Signs and Causes
- Best Practices for Effective Ventilation to Prevent Mold Growth
- Step-by-Step Guide: Replacing Moldy Bathroom Drywall
- Maintenance Tips: Long-Term Prevention Strategies for Moldy Drywall
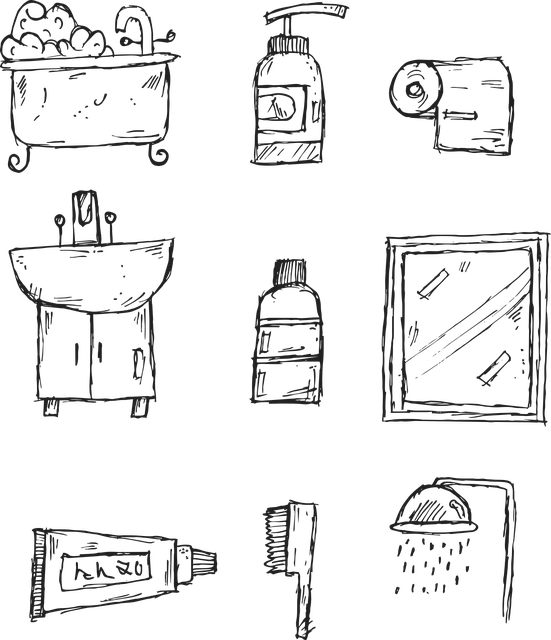
Recognizing Moldy Bathroom Drywall: Signs and Causes
Recognizing Moldy Bathroom Drywall: Signs and Causes
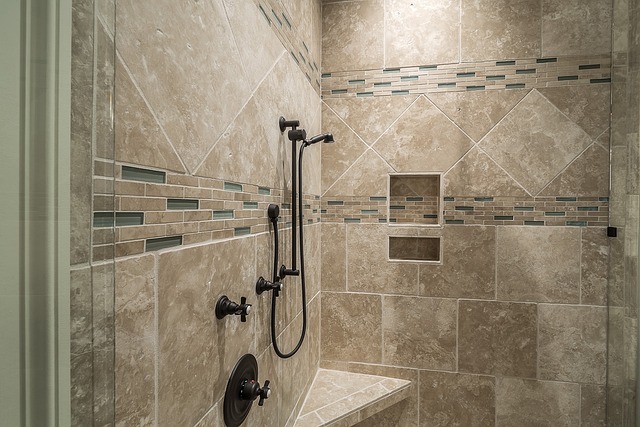
Moldy bathroom drywall is a common issue, often indicative of underlying problems with moisture and ventilation. The best bathroom ventilation for mold prevention is essential as it reduces humidity levels, halting mold growth and protecting your health. Signs of moldy drywall include visible black or green stains, peeling or blistered paint, and a musty odor that may be persistent despite cleaning efforts. These issues often stem from several causes: poor initial installation leading to trapped moisture, inadequate ventilation allowing condensation to form, leaks from fixtures or pipes, or previous mold infections that left underlying damage.
Regular inspections are key to early detection. Look beyond superficial issues and consider the environmental factors contributing to potential mold growth. If you suspect any water intrusion or persistent humidity problems, it’s crucial to address these issues first before focusing on replacing the affected drywall. Efficient bathroom ventilation plays a pivotal role in maintaining a healthy environment, deterring mold, and ensuring the longevity of your drywall replacements.
Best Practices for Effective Ventilation to Prevent Mold Growth

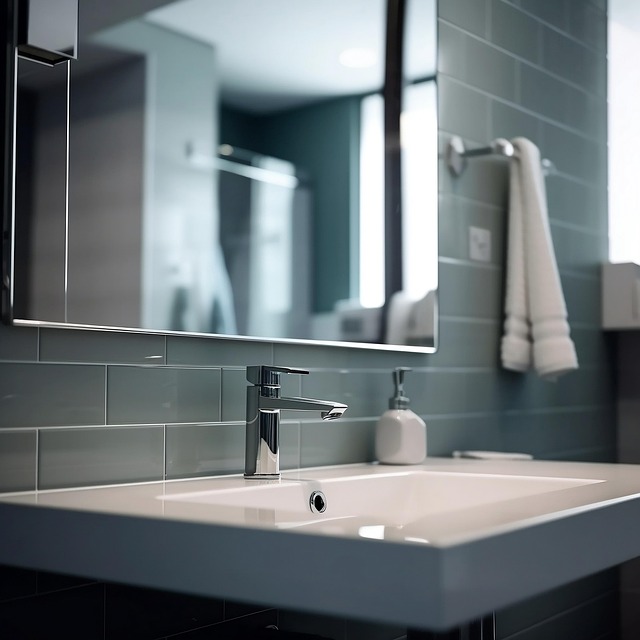
Maintaining a well-ventilated bathroom is crucial in preventing mold growth, especially in damp environments. The best bathroom ventilation for mold involves ensuring proper air circulation to reduce humidity levels and remove moisture from the air. Start by installing an exhaust fan in your shower or bathtub area, which will help expel steam and excess water vapor as you take a hot shower. Keep vents clear of obstructions like lint or debris to maximize airflow. Additionally, consider using a dehumidifier in your bathroom to further reduce humidity, especially if there’s a persistent moisture problem. Regularly cleaning and maintaining these ventilation systems is key, ensuring they function optimally without clogs or blockages.
Integrate these best practices for effective ventilation into your bathroom design to create an environment that discourages mold growth and promotes air quality. By addressing ventilation early, you can avoid costly repairs down the line, such as replacing drywall due to mold damage, and maintain a healthy living space.
Step-by-Step Guide: Replacing Moldy Bathroom Drywall
Step-by-Step Guide: Replacing Moldy Bathroom Drywall
The first step is to assess the extent of the mold infestation. If the moldy area is small, less than a few square feet, you might be able to remove and replace individual sections of drywall. For larger areas, it’s often best to remove the entire sheet of drywall and inspect the underlying structure for any damage or water intrusion. Proper bathroom ventilation is crucial for mold prevention; ensure your exhaust fan or window is functioning optimally before beginning the repair process.
Next, gather your tools and materials: a utility knife, new sheets of drywall (sized appropriately), joint compound, tape, and sandpaper. Carefully cut out the damaged section, being mindful to avoid any nearby studs. Once the old drywall is removed, clean the area thoroughly to eliminate any remaining mold spores. Install the new sheet of drywall, securing it with screws and taping the joints. Apply a coat of joint compound over the taped seams and let it dry before sanding smooth.
Maintenance Tips: Long-Term Prevention Strategies for Moldy Drywall
To prevent future mold growth and protect your bathroom from further water damage, implementing long-term prevention strategies is key. Regular cleaning and maintenance play a significant role in keeping your drywall in top condition. Start by ensuring proper bathroom ventilation for mold. Install exhaust fans or open windows to promote air circulation, especially during and after showers. This helps remove excess moisture from the air, which is a primary food source for mold.
Additionally, keep an eye out for potential water leaks and address them immediately. Regularly inspect your bathroom for any signs of moisture intrusion or water damage. Promptly repair any leaks in pipes, faucets, or showerheads. Consider using water-resistant drywall and sealants to create a protective barrier against moisture. Lastly, maintain a consistent cleaning routine, focusing on areas prone to mold growth, such as corners and seams.