


Shower mold problems are common due to bathroom humidity, starting with tiny black or green spots that can spread and cause health risks through spore inhalation. Prompt action is key: for minor cases, regular cleaning with a mold-killing solution is enough, but extensive shower mold may require replacing affected drywall, especially if deeply penetrated or resistant to treatments. To prevent future shower mold problems, improve ventilation with exhaust fans, use regular mold-inhibiting products, and apply sealants to tiles and grout, ensuring a healthier environment and minimizing recurrence.
“Tackling shower mold problems is crucial for maintaining a healthy and safe bathroom environment. This comprehensive guide explores when it’s time to replace moldy bathroom drywall, a common yet dreaded task. Learn to identify subtle signs of shower mold growth and understand the driving factors behind its development. We provide a step-by-step process for safely removing and replacing affected areas, ensuring an effective solution. Additionally, discover expert tips to prevent future mold issues, keeping your shower fresh and free from unsightly stains.”
- Identifying Shower Mold Problems: When to Take Action
- Replacing Moldy Bathroom Drywall: Step-by-Step Guide
- Preventing Future Mold Growth in Your Shower
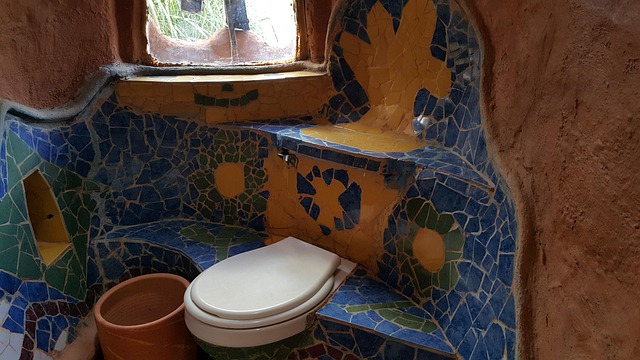
Identifying Shower Mold Problems: When to Take Action

Shower mold problems are a common issue that many homeowners face due to the humid and damp environment characteristic of bathrooms. Initial signs may include tiny black or green spots, which, if left untreated, can grow into larger patches. These molds not only spoil the aesthetic appeal but also pose health risks. They produce spores that can cause respiratory issues, especially for individuals with allergies or asthma.
If you notice any mold growth, particularly in corners, behind walls, or under sinks, it’s time to take action. Regular cleaning with a mold-killing solution may be sufficient for minor cases. However, for extensive shower mold problems, it’s advisable to replace the affected drywall. This is especially true if the mold has penetrated deep into the material, making it impossible to clean effectively or if the area has been previously treated multiple times without success.
Replacing Moldy Bathroom Drywall: Step-by-Step Guide
Replacing Moldy Bathroom Drywall: Step-by-Step Guide
1. Assess the Damage: Start by examining the extent of the mold problem. If the shower area is heavily affected, use a flashlight to check behind the drywall for hidden mold growth. Any sign of mold or visible water damage requires further investigation and immediate action to prevent it from spreading.
2. Prepare the Area: Ensure proper ventilation in the bathroom before beginning any work. Remove furniture and accessories from the space, if possible, to allow unrestricted access and ease of cleaning. Cover nearby surfaces with drop cloths or plastic sheets to protect them from dust and debris.
Preventing Future Mold Growth in Your Shower

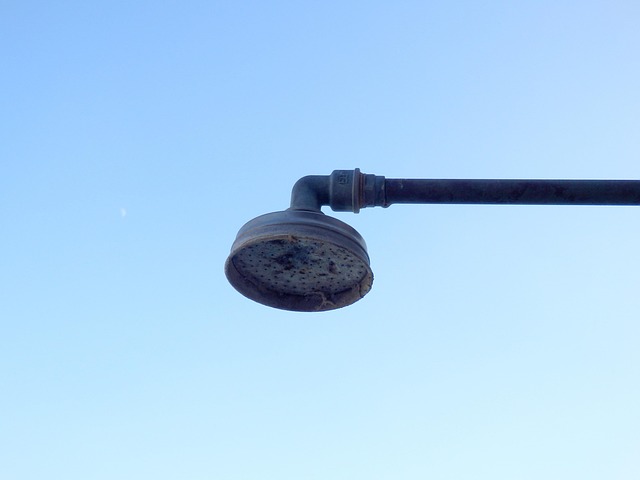
To prevent future shower mold problems, addressing the root causes is key. This involves ensuring proper ventilation in your bathroom to reduce humidity levels. Install or upgrade exhaust fans and make sure they vent outside to expel moist air effectively. Additionally, regular cleaning with mold-inhibiting products can help keep shower surfaces free from residue that fosters mold growth. Sealant applications on tiles and grout further create an impediment for moisture to adhere, thus minimizing the chances of mold development.
After replacing drywall affected by mold, implementing these preventive measures is crucial. It not only saves you from costly future repairs but also ensures a healthier living environment. Remember, persistent moisture and high humidity are perfect breeding grounds for shower mold problems; proactive steps can go a long way in maintaining a clean, safe, and dry bathroom space.