


Shower mold problems are caused by bathroom humidity and water exposure, leading to unsightly stains and health risks. Preventative measures include regular cleaning, sealing cracks, choosing waterproof materials, proper ventilation, and using anti-mold paints or sealants. Thorough preparation and suitable product selection are key for long-term solutions to shower mold issues.
“Shower mold problems are common yet unpleasant issues that can affect any bathroom. Understanding the root causes of shower mold is the first step towards a solution. This article guides you through a comprehensive approach to sealing bathroom surfaces and preventing mold growth. From preparing surfaces before sealing to choosing the right product and proper application techniques, we cover it all. Learn how to maintain a clean, dry bathroom environment to prevent future shower mold problems.”
- Understand Shower Mold Problems
- Prepare Surfaces Before Sealing
- Choose the Right Sealing Product
- Apply Sealant Correctly
- Maintain Clean and Dry Bathroom
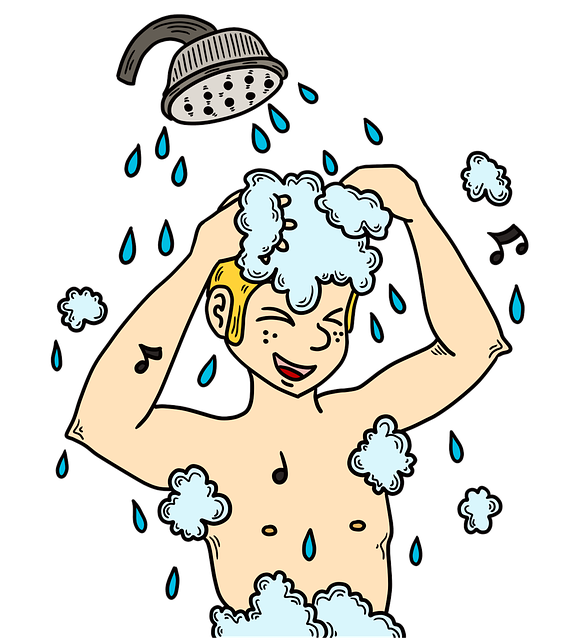
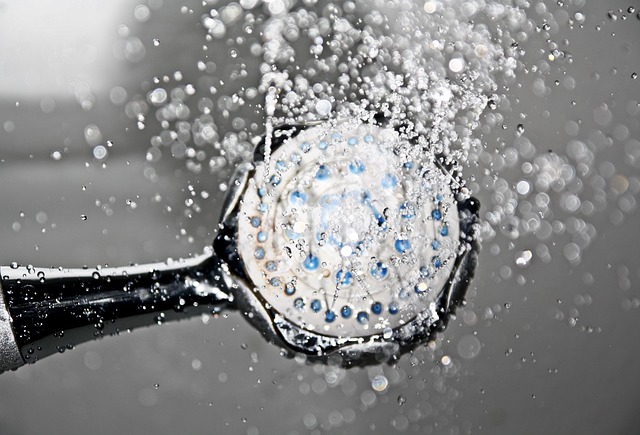
Understand Shower Mold Problems
Shower mold problems are a common issue, often arising due to the high humidity and water exposure in bathroom spaces, especially showers. This environment creates the perfect conditions for mold growth, leading to unsightly stains and potential health concerns. Mold thrives in dark, damp areas, quickly multiplying on surfaces like tiles, caulk, and walls. Over time, it can cause structural damage and even impact indoor air quality, making it a significant problem for homeowners and renters alike.
Identifying shower mold problems early is key to preventing extensive damage and ensuring a healthy living environment. Regular cleaning with mold-killing solutions can help, but for persistent or recurrent issues, addressing the underlying causes is crucial. Proper ventilation, improving airflow, and using waterproof materials are effective strategies to mitigate shower mold problems, ensuring your bathroom remains a clean, comfortable, and safe space.
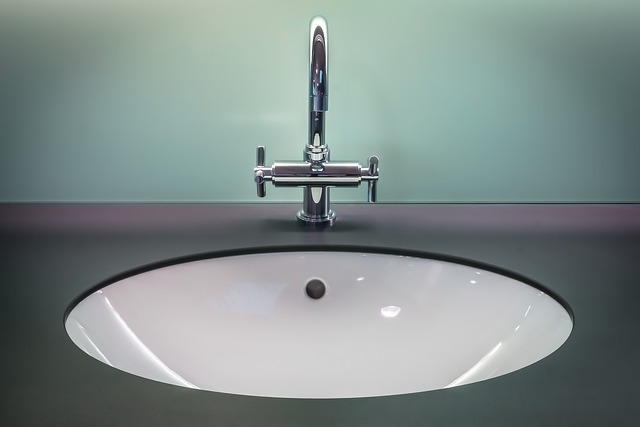
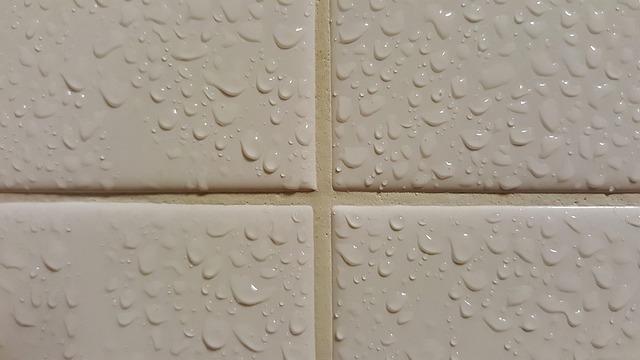
Prepare Surfaces Before Sealing

Before applying any sealant, it’s crucial to prepare the bathroom surfaces thoroughly to ensure optimal results and prevent future shower mold problems. Start by cleaning the area with a mild detergent and warm water to remove any existing mildew or soap scum. This initial step is essential as dirt and grime can interfere with the adhesion of the sealant. Once cleaned, dry the surface completely using a clean towel or cloth to create a smooth, dry base.
Additionally, it’s recommended to patch up any cracks or gaps in the tiles or grout lines. These small openings can provide breeding grounds for mold and mildew. Using a suitable mortar or caulk, fill in these spaces, ensuring a seamless finish. This preparation step will create a barrier that prevents moisture from seeping into hidden areas, thus addressing shower mold problems head-on.
Choose the Right Sealing Product
When addressing shower mold problems, selecting the appropriate sealing product is a critical first step. Look for sealants specifically designed to inhibit mold growth and offer water-tight protection. Silicone-based sealants are popular choices due to their flexibility, durability, and resistance to moisture. These properties make them ideal for bathroom surfaces, creating a barrier that prevents water penetration and minimizes the chances of mold development.
Consider factors like surface type (tile, fiberglass, etc.), existing conditions, and future maintenance when choosing. Some sealants are more suitable for specific materials or may require different application methods. Always follow manufacturer instructions for optimal results. Additionally, ensure the sealant is compatible with your climate to prevent premature degradation or loss of effectiveness in humid environments.
Apply Sealant Correctly
When applying a sealant to your bathroom surfaces, ensure it’s done correctly to effectively prevent shower mold problems. Start by preparing the surface thoroughly; clean and dry the area before application. Any residue or moisture can compromise the seal’s effectiveness. Use a compatible sealant for your specific material—tile, fiberglass, or plastic—and follow the manufacturer’s instructions regarding application techniques and timing.
Avoid overspraying, as this can lead to an uneven finish and potential staining. Work in small sections, allowing adequate time for drying between applications if needed. Proper sealing creates a protective barrier against moisture and humidity, halting the growth of shower mold problems.
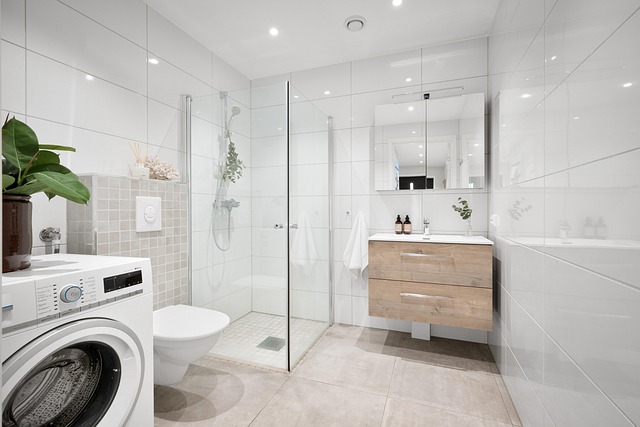
Maintain Clean and Dry Bathroom

A clean, dry bathroom is key to preventing shower mold problems. Regularly cleaning your bathroom, especially high-moisture areas like the shower and bathtub, can significantly reduce the chance of mold growth. Use non-toxic, mold-inhibiting cleaners to effectively kill existing mold and prevent future infestations. Additionally, ensure proper ventilation by using exhaust fans or opening windows during and after showers to expedite drying processes.
Drying your bathroom thoroughly is crucial for maintaining a mold-free environment. Pay special attention to hard-to-reach areas like nooks and crannies where moisture can hide. Consider treating these surfaces with anti-mold paints or sealants designed to create an impermeable barrier against humidity. By consistently upholding clean and dry conditions, you’ll effectively mitigate shower mold problems and promote a healthy bathroom setting.