


To prevent and address mold growth in bathrooms, start with regular cleaning, targeting grout areas. Use mold-resistant coatings, improve ventilation, and employ dehumidifiers. For severe cases, identify mold presence, clean it using a mild detergent and protective gear, and ensure thorough drying. Follow up with a simple water and bleach solution for grout cleaning. Implement ongoing maintenance by deep cleaning surfaces, applying mold-killing cleaners, and sealing grout lines with high-quality, anti-mold products to inhibit future growth.
“Keep your bathroom fresh and healthy with our comprehensive guide to sealing surfaces against mold. Mold thrives in humid, poorly ventilated spaces, making bathrooms prime real estate for its growth. Understanding how to identify and prevent it is crucial. This article explores effective strategies, from recognizing and preparing affected areas to choosing the right cleaning products and a step-by-step guide on removing mold from grout. Learn how to maintain a mold-free sanctuary.”
- Understanding Mold Growth in Bathrooms
- Identifying and Preparing the Area
- Choosing the Right Cleaning Products
- Step-by-Step Guide to Removing Mold from Grout
- Preventing Future Mold Growth
- Tips for Maintaining a Mold-Free Bathroom
Understanding Mold Growth in Bathrooms

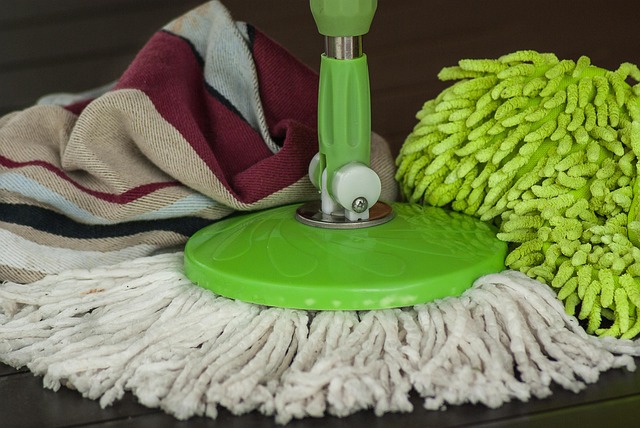
Mold thrives in dark, damp environments—perfect conditions for bathrooms, where it can quickly spread across surfaces, including tile, grout, and walls. It’s essential to address mold growth early to prevent extensive damage and health risks. Regular cleaning is a crucial step in maintaining a mold-free bathroom, especially focusing on hard-to-reach areas like grout, where moisture can accumulate.
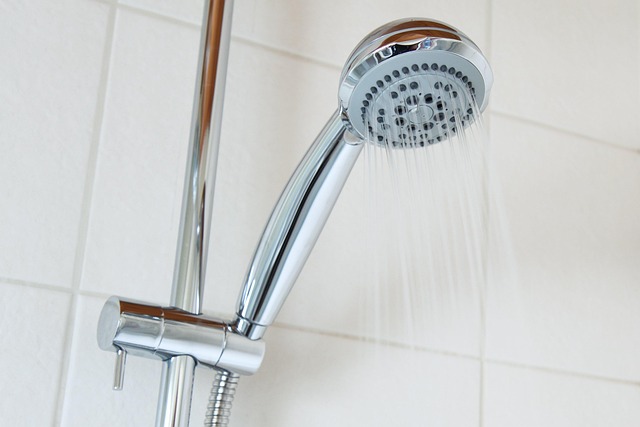
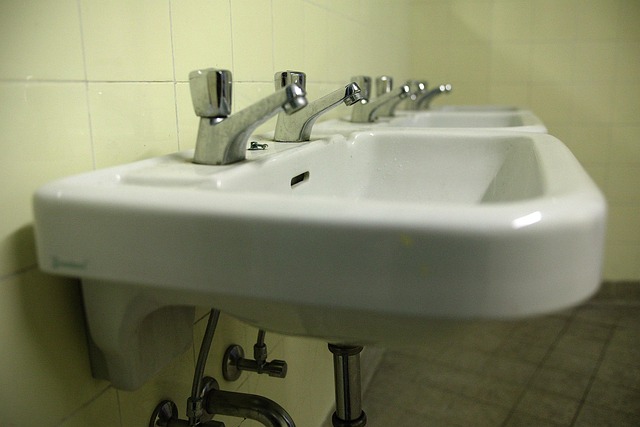
One effective method for sealing bathroom surfaces is applying mold-resistant coatings or sealers. Additionally, ensuring proper ventilation through the use of fans or open windows helps reduce humidity levels, making it harder for mold to flourish. Regular deep cleaning, including scrubbing with a mold-killing solution and using a dehumidifier, can also inhibit future growth, particularly in areas prone to moisture buildup like shower recesses and around sinks.
Identifying and Preparing the Area

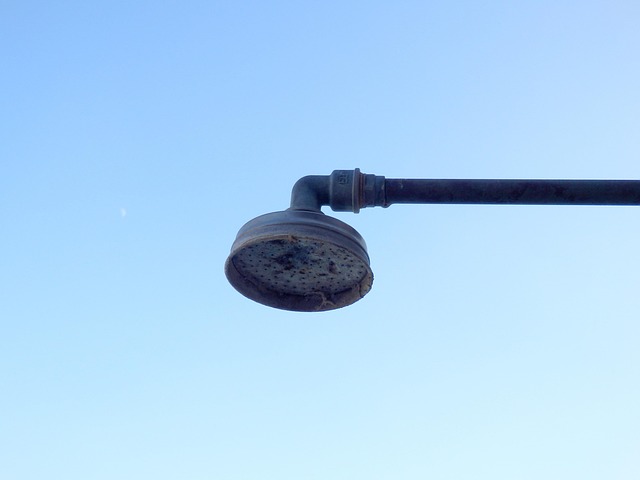
Identifying and preparing the area is a crucial step in sealing bathroom surfaces against mold. Start by inspecting your bathroom thoroughly, focusing on areas prone to moisture buildup such as grout lines, showerheads, and tiles. If you notice any signs of mold growth, it’s essential to address them immediately. Cleaning mold from grout involves using a combination of mild detergent, water, and a brush or sponge to scrub away the affected material. Make sure to wear protective gear like gloves and a mask during this process.
Once the area is clean, prepare it for sealing by ensuring all surfaces are dry and free from debris. This might require rinsing with clean water and allowing it to air dry completely. Proper preparation is key to achieving effective sealing, so take your time to ensure everything is ready before proceeding to the next step.
Choosing the Right Cleaning Products

When tackling mold in your bathroom, selecting the appropriate cleaning products is a critical first step. Look for anti-mold and mildew cleaners specifically designed to target and remove stubborn stains effectively. These formulations often contain powerful yet safe ingredients that can penetrate and eliminate mold from various surfaces, including grout.
Remember, when it comes to cleaning mold from grout, choosing the right tool for the job matters. Opt for a sponge or brush with a non-abrasive surface to avoid damaging the grout lines while ensuring a thorough clean. Additionally, wearing protective gear, such as gloves and a mask, is essential to safeguard yourself from inhaling mold spores during the cleaning process.
Step-by-Step Guide to Removing Mold from Grout
Removing mold from grout is a crucial step in sealing bathroom surfaces effectively. Start by preparing a solution of equal parts water and bleach. Put on protective gear, including gloves and a mask, to avoid direct contact with chemicals. Spray the solution onto the affected grout, ensuring it’s thoroughly covered. Let the mixture sit for about 10 minutes to allow the bleach to penetrate and kill the mold. Use a soft-bristled brush or a sponge to gently scrub the grout, removing any visible mold and debris. Rinse the area with clean water to wash away residual bleach and dirt. Dry the grout lines completely with a clean towel before proceeding to the sealing step.
Preventing Future Mold Growth

To prevent future mold growth, it’s crucial to implement ongoing maintenance practices that create an unwelcoming environment for spores to thrive. Regular cleaning and sealing are key components of this strategy. Begin by thoroughly cleaning all surfaces, including tiles, grout, and fixtures, using a mold-killing cleaner designed specifically for bathroom use. Focus on areas prone to moisture buildup, such as behind toilets, under sinks, and around showerheads. Once cleaned, apply a high-quality sealant to create a protective barrier against both moisture and mold spores. This step is particularly important in grout lines, where spores can easily become trapped. Choose a sealant that is resistant to water penetration and has anti-mold properties to ensure long-lasting protection.
Tips for Maintaining a Mold-Free Bathroom